Need any help or advice?![]() Contact Us
Contact Us
USED IN THIS PROJECT
Although not necessarily an exhaustive list, the following tools and materials, supplied by Easy Composites, were used in this project.
The quantity shown below is the approximate amount used in the project rounded up to the nearest available kit size or quantity.
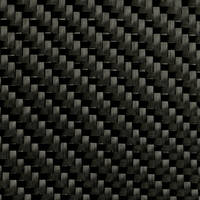
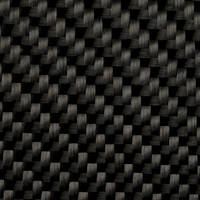
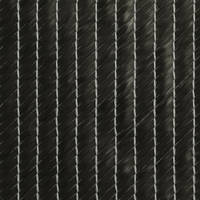
REINFORCEMENTS
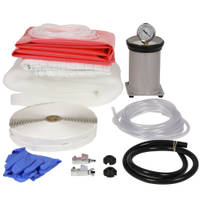
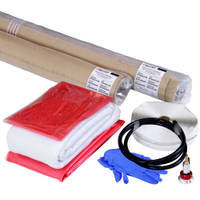
STARTER KIT(S)
VIDEO TUTORIAL
How to Make Carbon Fiber Sheet - 3 Alternative Methods - Video Tutorial
The aim of the tutorial is to show the ease with which high quality carbon fiber sheet can be made for both cosmetic and structural applications and to help guide your choice on manufacturing technique and material selection in order to produce a commercial quality sheet that matches your exact requirements.
Even if you don't plan to or need to make your own carbon fiber sheet, this guide should give you a better understanding of how carbon fiber sheets can be made and how factors such as fiber orientation and production method can significantly influence their behaviour and performance.
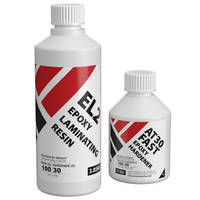
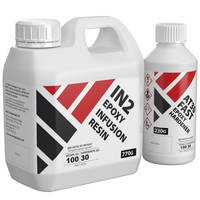
The three different manufacturing methods we'll be looking at to make our sheets are a simple hand lay-up process using dry carbon fiber fabric hand laminated using epoxy resin, resin infusion where we'll be using a vacuum process to infuse epoxy resin through dry carbon reinforcement and finally oven cured prepreg where we’ll use uncured prepreg carbon fiber, vacuum bagged and cured under vacuum in an oven.
Below you will find a brief description of the materials and process used in each of the practical segments of the video when making carbon fiber sheet. All examples are laid up onto conventional glass sheets which have been prepared with Easy-Lease Chemical Release Agent.
TUTORIAL BREAKDOWN
1. Mold release agents
Throughout the mold making process, there are many times when you will need to prepare your original parts or pattern with a 'release agent' to prevent the new mold materials from sticking to your part or indeed to the new flanges of other parts of the split-mold. Throughout this tutorial we use Easy-Lease Chemical Release Agent to ensure a reliable, easy release.
INTRODUCTION
1. Working with temporary barriers
At various points during the mold making process we need to position temporary barriers around our pattern or part to create flanges on the mold sections and create any split-lines we need. Temporary barriers can be made using Fluted Sign Board (such as we did in Part 1 of our Carbon Fiber Bonnet Making Tutorial), or using a smoother, sturdier material such as the polypropylene sheet that we use throughout this tutorial.
Generally, when making split-molds, temporary barriers are used to make the flanges for one part of the mold but are then removed once that part of the mold is cured so that the next part of the split-mold can utilise the new flange of the first part of the mold as a barrier to make its own flange. Doing so ensures that the different sections of the mold come together perfectly. When using the flange of a prior mold section as the barrier to make the flange of a new section it is of course very important to apply several applications of release agent (as though it were a new mold) to the flanges.
TUTORIAL BREAKDOWN
1. Using filleting wax
Filleting wax is used throughout the process to fill gaps between barriers and the part and to create softer radiuses where required. Filleting wax is also used to create 'registration dots' that are positions on barriers or flanges to create matching male and female lugs which will help to accurately locate different parts of the mold, ensuring they are perfectly aligned.
2. Uni-Mold mold making materials
In this tutorial, all three sections of the multi-part mold are made using our Uni-Mold Universal Mold Making System. Uni-Mold is a special tooling system that is compatible with the widest possible range of processes, will release reliably off most materials including polyester, vinylester and epoxy patterns and can then be used to produce parts using any of these resin systems.
We sell the Uni-Mold system in a complete starter kit including all the resins, catalyst, chopped strand glass and laminating tools or any of the individual parts can be purchased separately. For detailed information on using the Uni-Mold system please see our Uni-Mold Advantages and Laminating Guide PDF.
3. Use with prepregs
Although it is possible to use Uni-Mold molds with out-of-autoclave (oven cure) prepregs (such as XPREG® XC110) we no longer recommend Uni-Mold molds for this purpose.
Instead – for prepreg use – better results will be achieved using high temperature epoxy molds made using our EG160 / EMP160 tooling system or XPREG® XT135 Tooling Prepreg. These high temperature epoxy tooling systems allow the prepreg to be cured at the optimum 120°C which reduces the cure time and improves the mechanical properties of the component. Additionally, epoxy tools have been found to result in a better surface finish with prepregs such as XPREG® XC110.
DISCUSSION (18)
Please share any questions or comments you may have about this video tutorial.
LEAVE A COMMENT OR QUESTION
USED IN THIS PROJECT
Although not necessarily an exhaustive list, the following tools and materials, supplied by Easy Composites, were used in this project.
The quantity shown below is the approximate amount used in the project rounded up to the nearest available kit size or quantity.
REINFORCEMENTS
STARTER KIT(S)
DISCUSSION (18)
Please share any questions or comments you may have about this video tutorial.
LEAVE A COMMENT OR QUESTION
100% SECURE
PAYMENT METHODS


Easy Composites Ltd, registered in England 7486797. All content copyright (C) Easy Composites Ltd, 2025. All rights reserved.